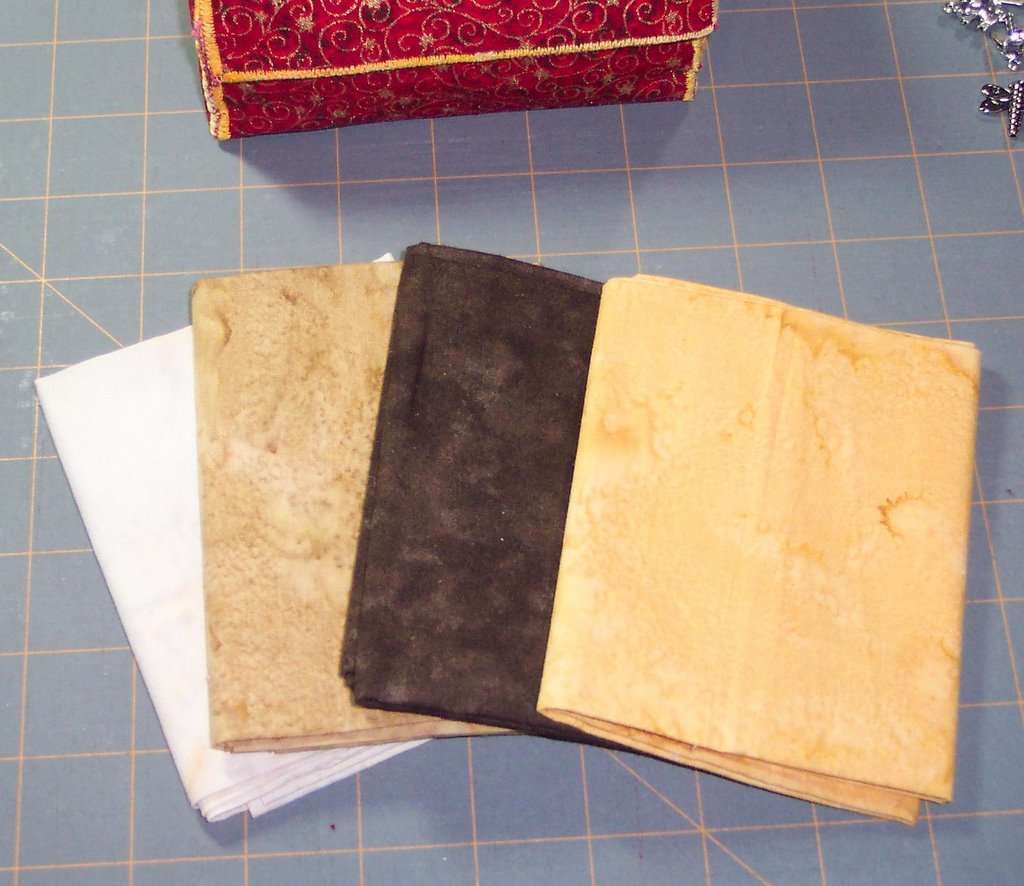
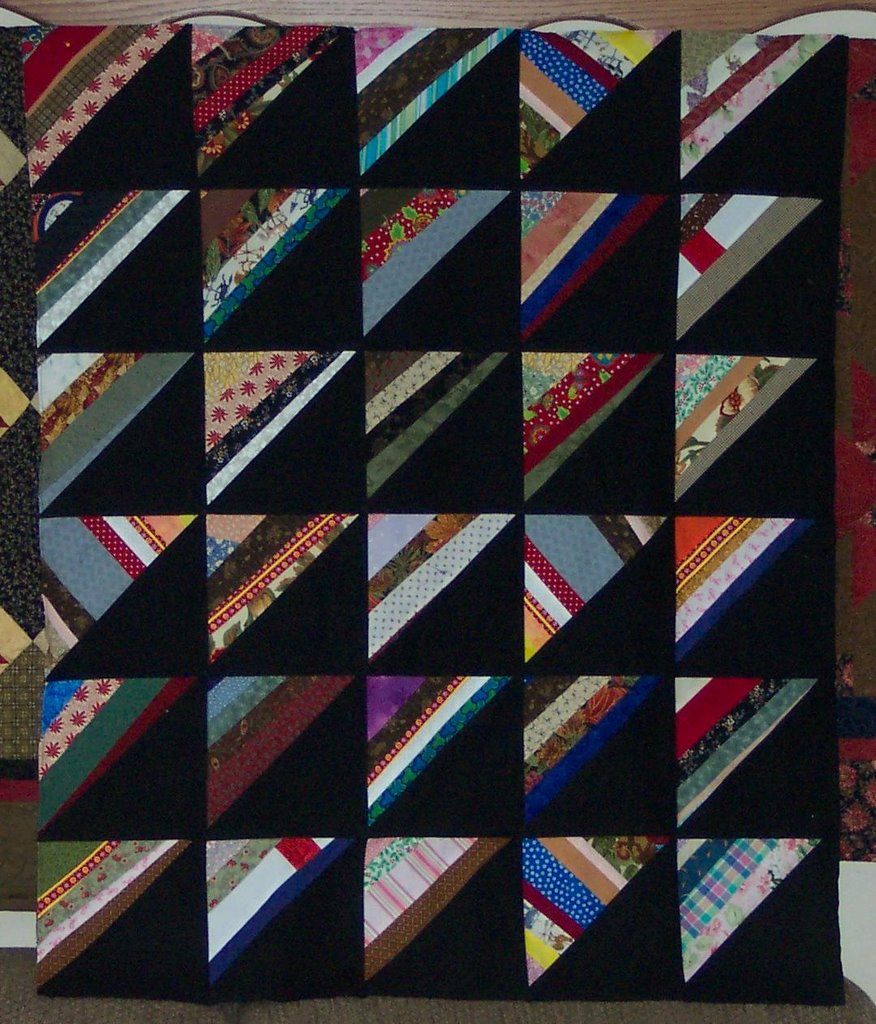
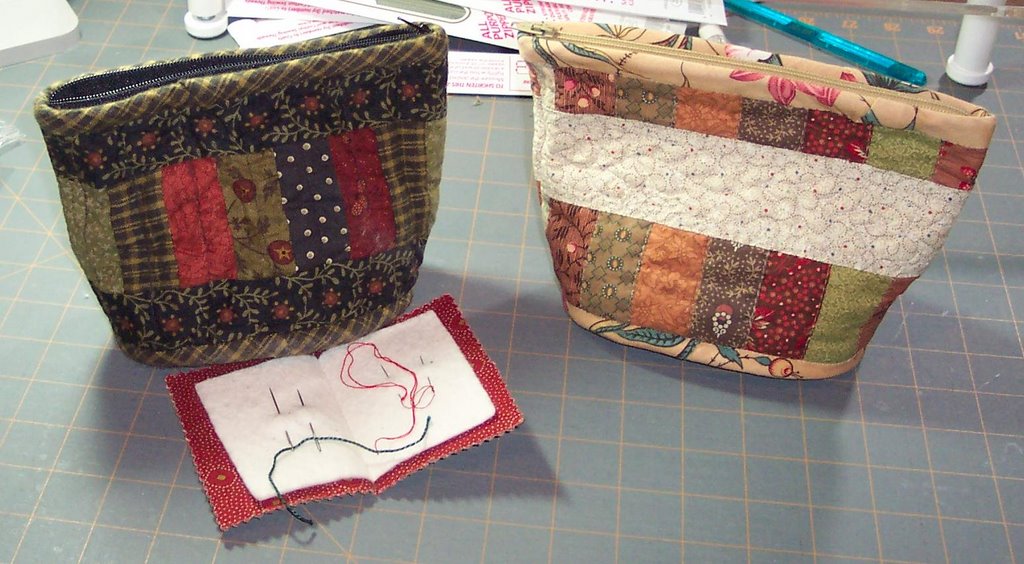
 So you noticed I didn't really have a lot of pin cushions - BUT you should see my sewing bags! I'm a sewing bag nut! I love them all for different reasons. Course I do have my faithful old standby's that I keep going back to. The picture above are my all time favorite standbyes. They zip shut so nothing falls out, and they seem to be just the right size for scissors, a needle book, thread, thimble, etc. If I'm working on small applique block/piece that fits in there as well. These are the ones that sit on my end tables in my family room that I use every day. But I'll pick them up and take them "on the go" as well!
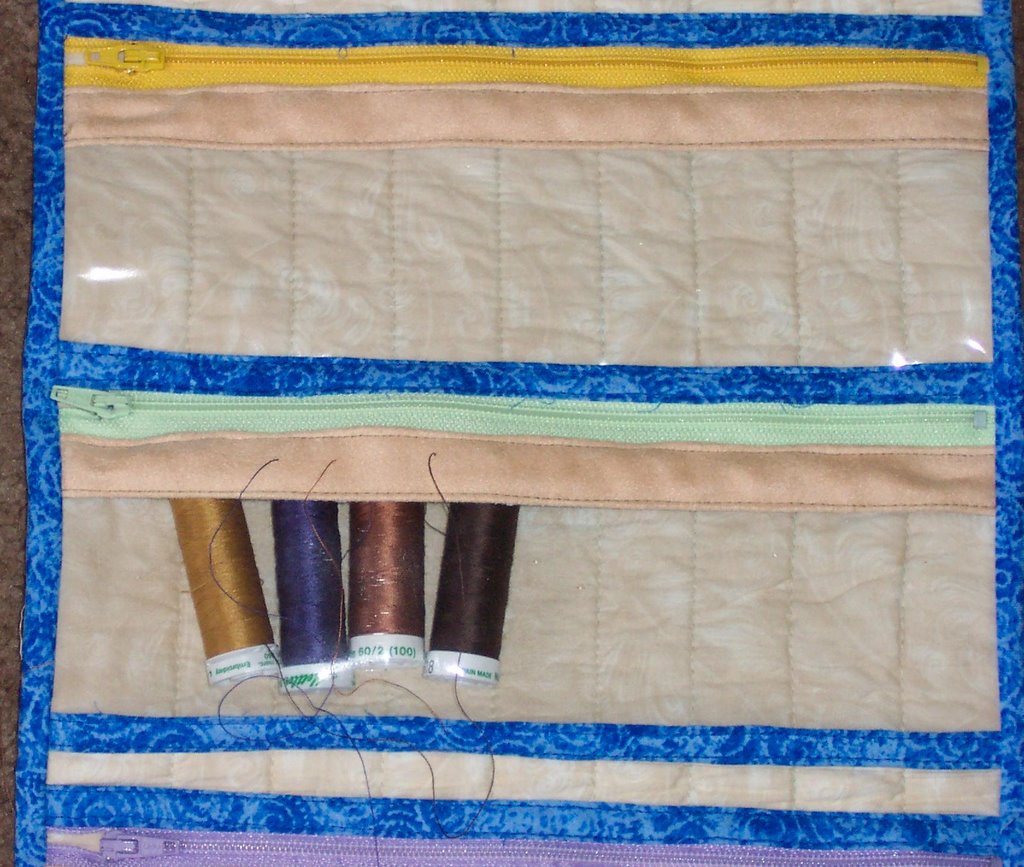
The next picture is a thread organizer. You can see where you string the thread through the ultra suede so you don't have to take the spool out. It keeps everything nice and neat! Now these 2 I made for gift last spring. But I still haven't gotten mine made. But that is this weekends project! So hopefully sometime in the next week or so I'll have my very own! I"ve wanted this for so long, but just never took the time to make one for me. One of these went to Linda and she said she is loving hers!

 The next one is made out of pet screen. I've made a TON of these! I use the one below for all my sewing tools when I go on retreat. Seam Ripper, Rotary cutter, Needles, Stiletto, Chalk Wheels, bobbins, thread, and on and on. I have a smaller size one I used when I went to Paducah to put all my receipts in - that kept them all together and handy for me - not that I wanted to know how much I spent! Linda and Laura both have one of these, and I showed them how to make them at quilt camp this month. You know I think I may have sent one to Finn and Tonya also! Can you tell they are easy and fun to make!
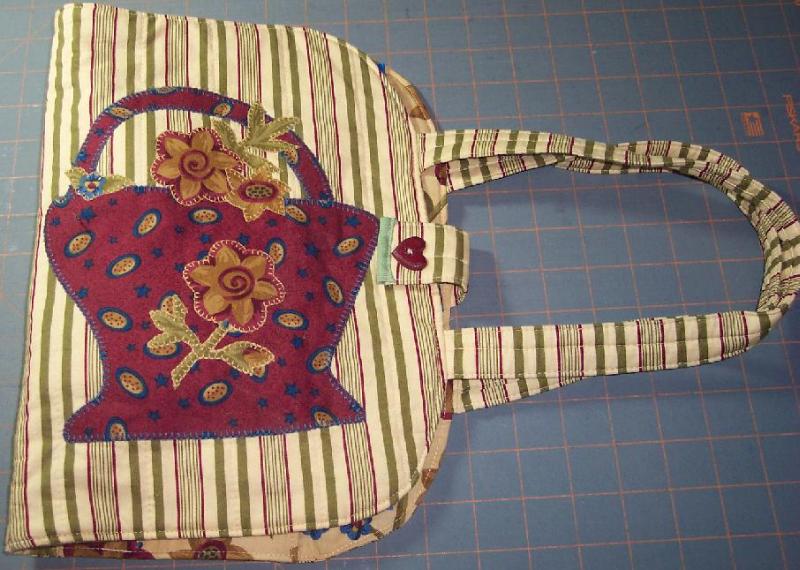
 The next one was one of my early cases I made. I made it kind of oval like a placemat and then sewed ziplock baggies to it and covered the bottoms with a ribbon. I also made a pocket on both sides and made a pin-cushion (heart) on one side. This one usually goes to work with me for applique projects. If I made one again I would make the handle shorter. And the buttom closure tighter.

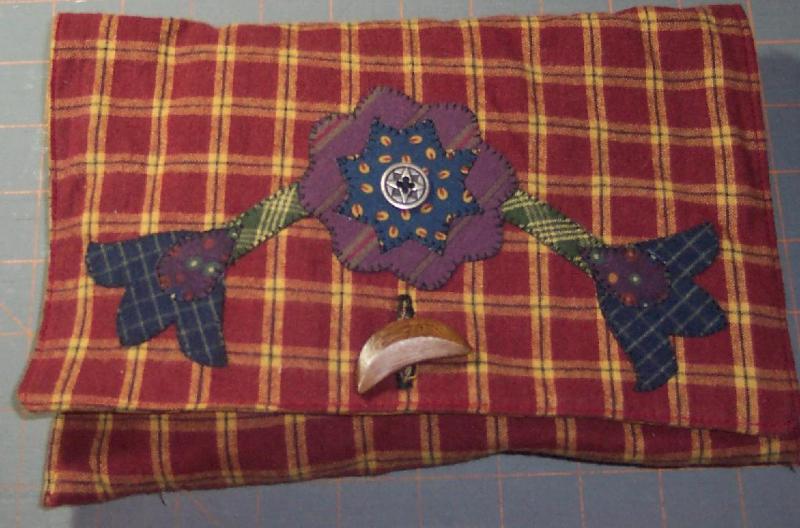
 This one is like an envelope. I made it for fun - what else - to put all my stuff in when I took a class from Karen Kay Buckley on applique at the Chicago quilt show. Of course I had plenty to use, but I needed a NEW one! This one is REALLY easy to make. So what I keep in this one right now is my applique project from that class. Yes I've been bad and haven't worked on it a whole lot, even though I love it.
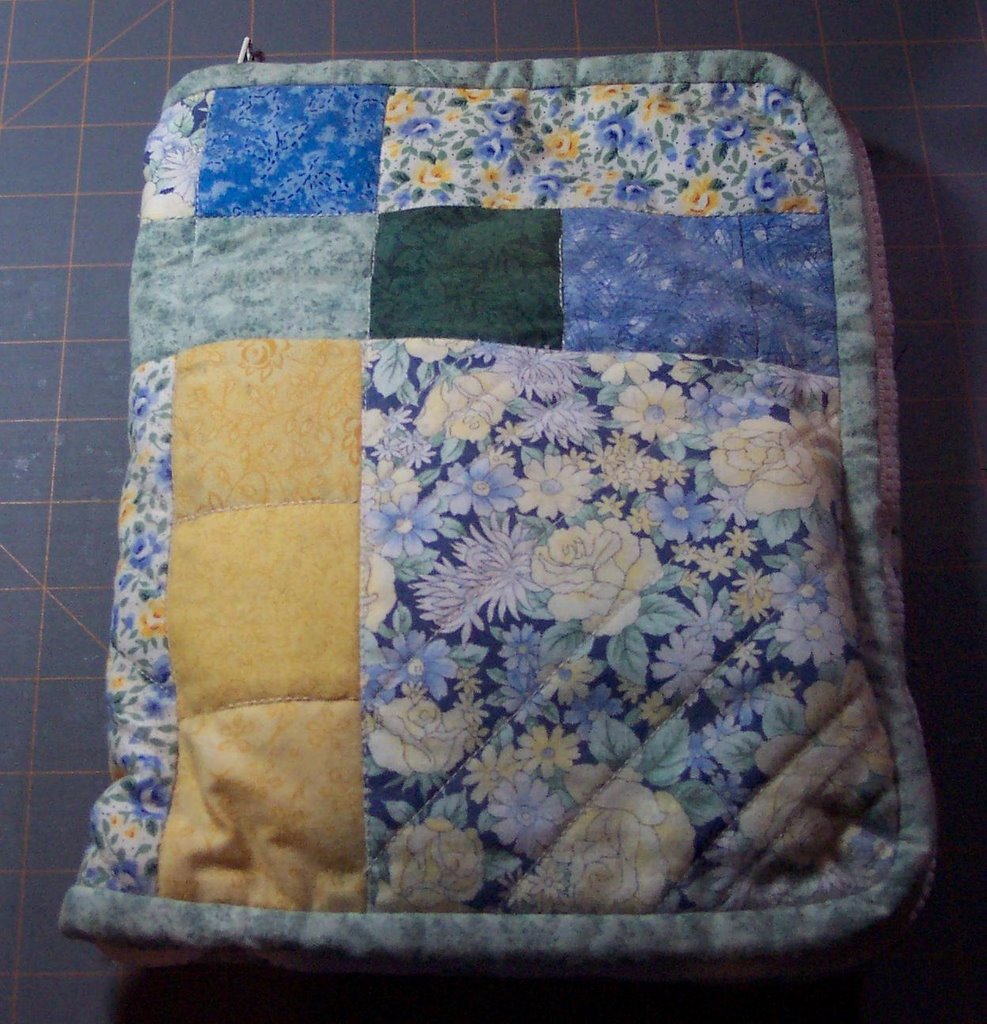
 Then I have a book like zippered case. This case holds my stuff for my Rose Sampler Supreme applique I"m working on. I was doing so good, I have about 7 of 12 blocks done and I've just kind of fizzled out on it. I got really sick of pink and green! I guess I should get it out and at least take a picture of what I have done so far for you to see! Maybe that would inspire me to get back at it! This one is nice because it zips up and I put a pocket in it for the block to go in. I used this one a lot - it was my very first one. But I"m really out of the blue and yellow phase, so I wish I had a different color! Plus my quilting really stunk on this one! But it works well!
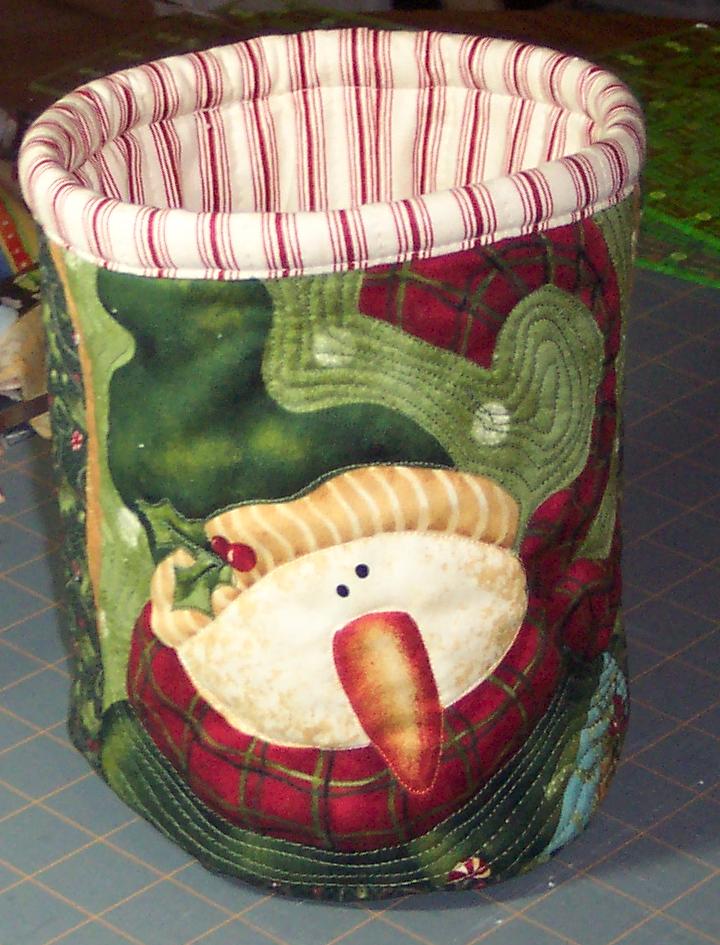
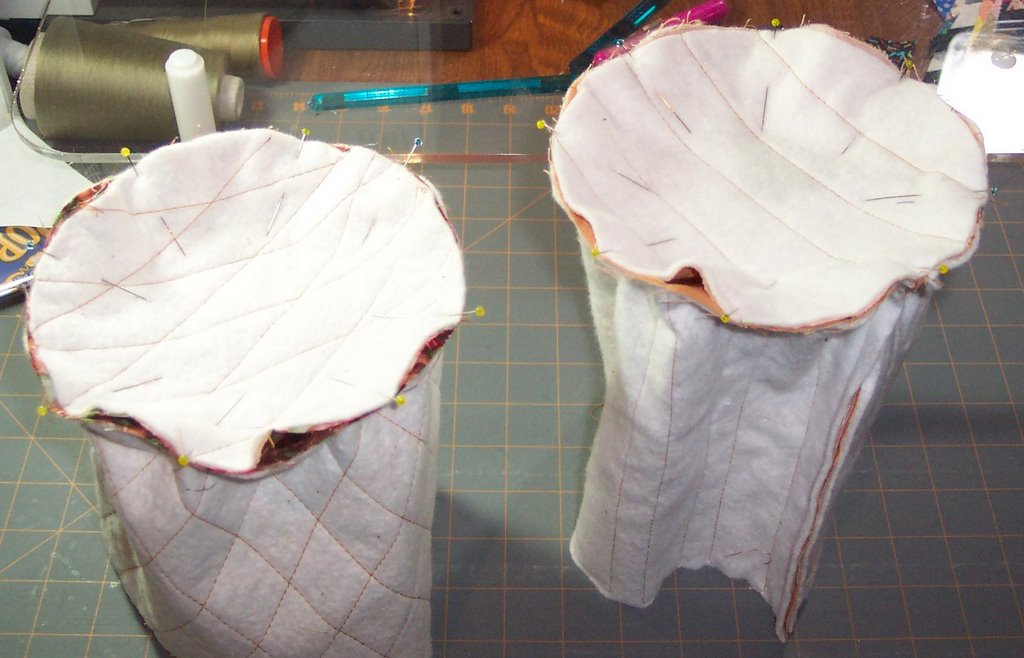
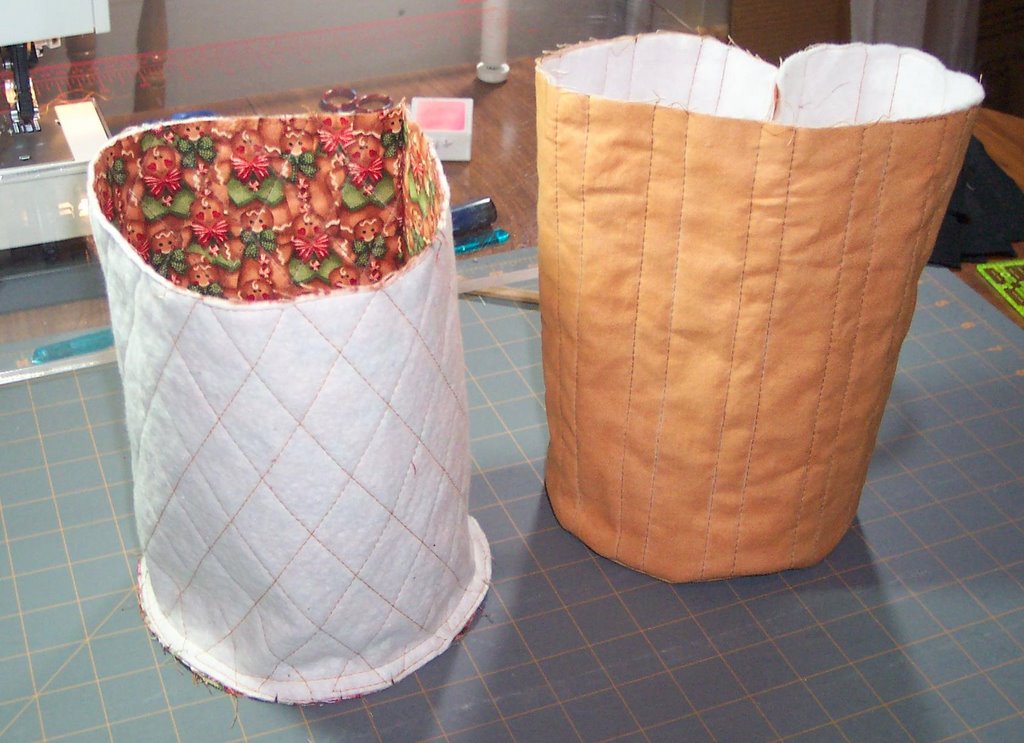
 And last but not least is a little round cylinder huswife like case. My friend Lynn made this one for me. It fits small scissors, needle book, thread, etc in it also! It also has a needle spot on the inside cover. This one gets used when I just need to take my stuff but don't need a lot else.
 So I think you have the idea - I"m a sewing bag nut! But come on - aren't they just so cool and fun!